
Who doesn’t want to get a higher open rate, sound CTR and better conversions?
Web push notifications become a gratifying solution to do these jobs.
Top brands around the world are adopting web push notifications.
People often ask, is it available on the WordPress site? As WordPress covers 30% of market share right now.
In this post, we are going to show you how to add web push notifications in your WordPress site.
Let’s get in.
Push Notifications WordPress Set Up – Why Should You Do it?
You may Wonder. What makes it so unique, and effective than any other digital marketing channel?
Web push notifications are instant message updates.
They are clickable.
Pop up on your users desktop and smartphones as crunch updates.
Web push uses web browsers to get into your user’s array.
They can show up even if the browser isn’t open.
Only they need one thing, your user’s permission to get notifications.
No opt-in form required, no email address is necessary.
That’s how you can build your subscription list.
Web push helps you to carry on with your digital marketing campaign effortlessly.
According to Adweek, web push notifications get at least twice open rate and better CTR (Click Through Rate) than email marketing.
So, do you feel it is important for your WordPress site to add push notifications?
There are several web push notifications you can find in the market. Choosing the best one is key here.
Now, let’s take a look into the core of our step by step guide.
Adding Web Push Notifications in Your WordPress Site With OmniKick
OmniKick offers top-notch features with simple and affordable price.
It is one of the most popular push notification tools in the market.
OmniKick allows you to send web push notifications to any desktop and smartphones via Google Chrome, FireFox, and Safari.
After you select a pricing plan (you can also get a 14-day free trial also), log in to your OmniKick account.
Step One: Push Configuration
At first, you need to set up your push configuration.
It’s a must do things before you implement the push notifications plugin in your WordPress site.
From your OmniKick dashboard, click on the bell icon.
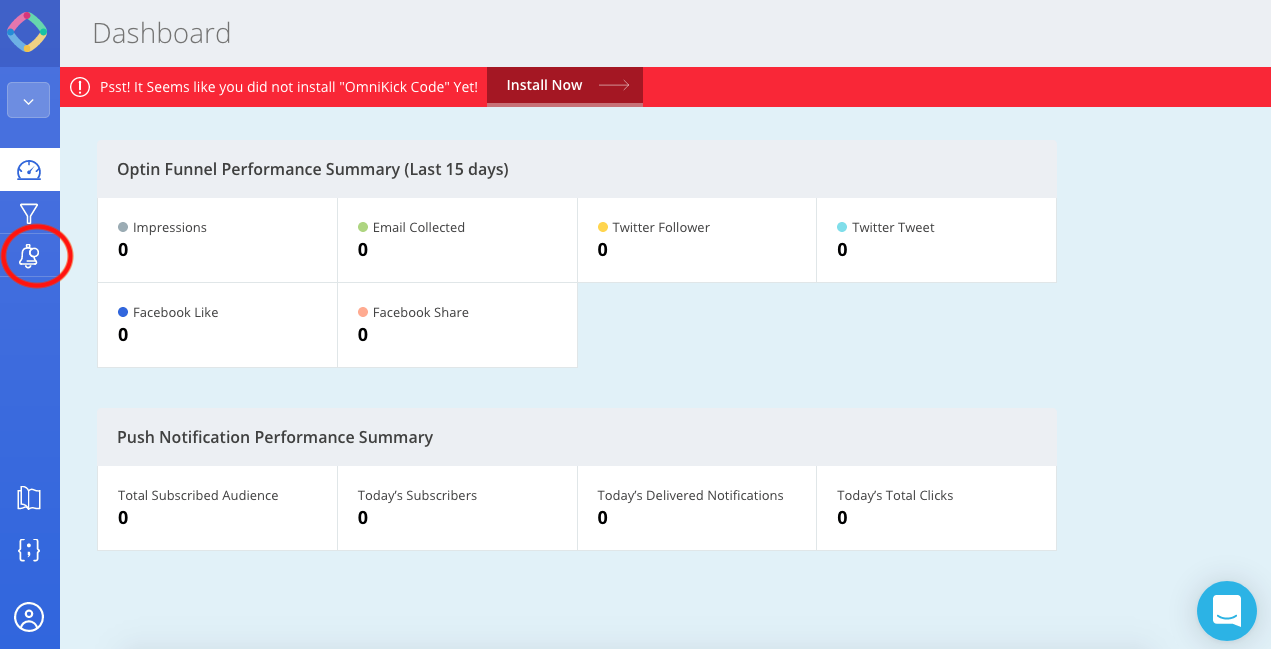
After that, you will see a page like this.
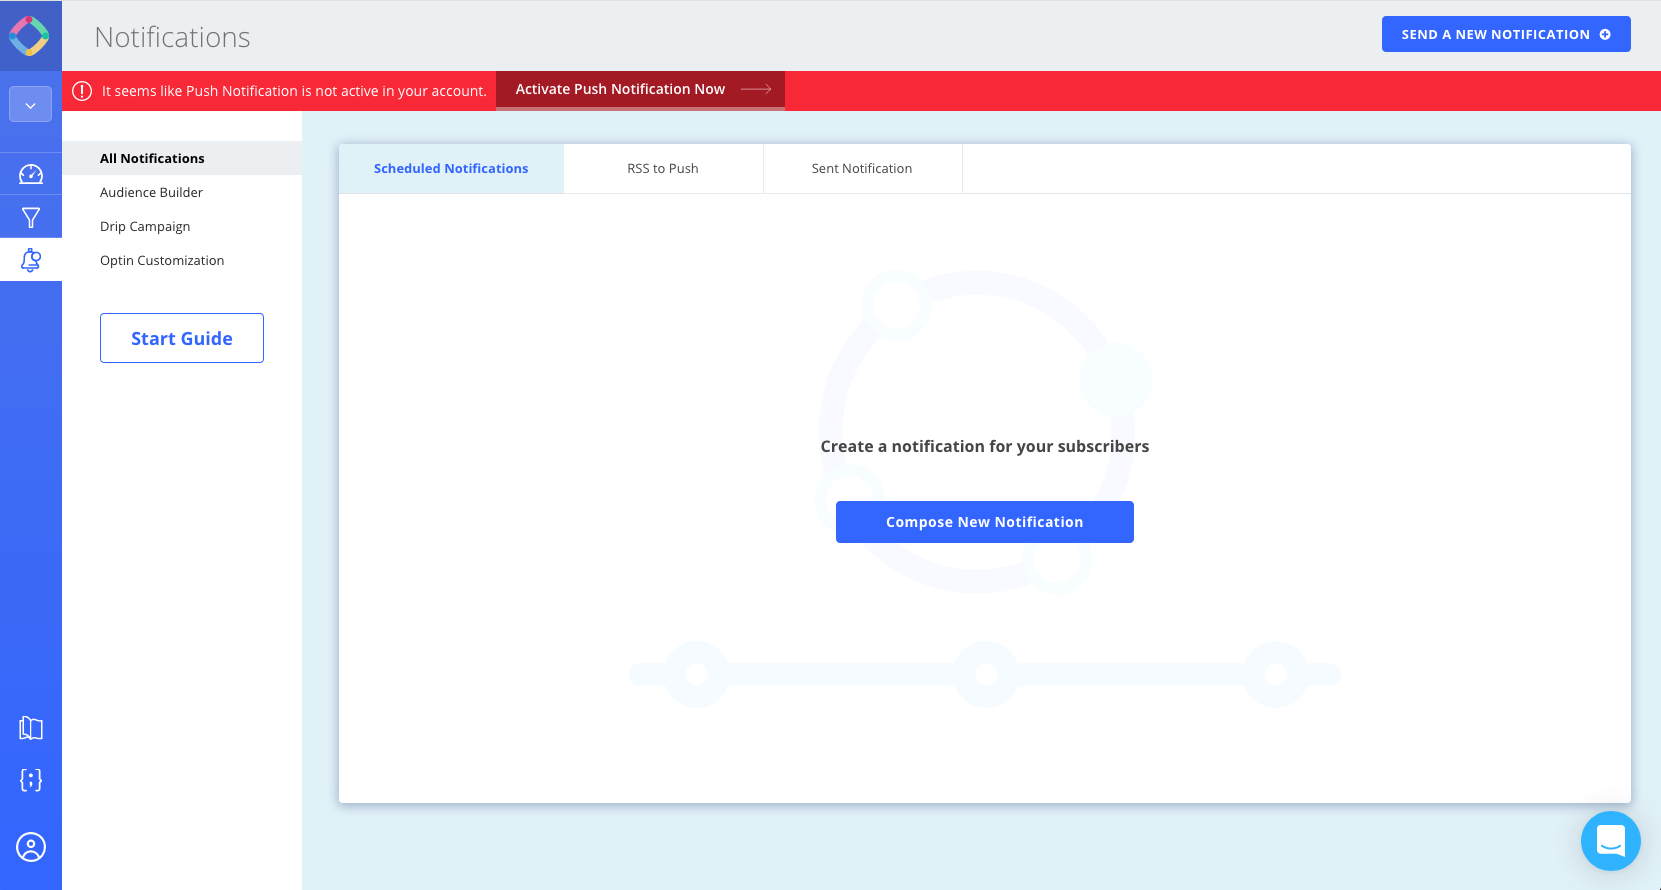
Now, click on the ‘Start Guide’ button.
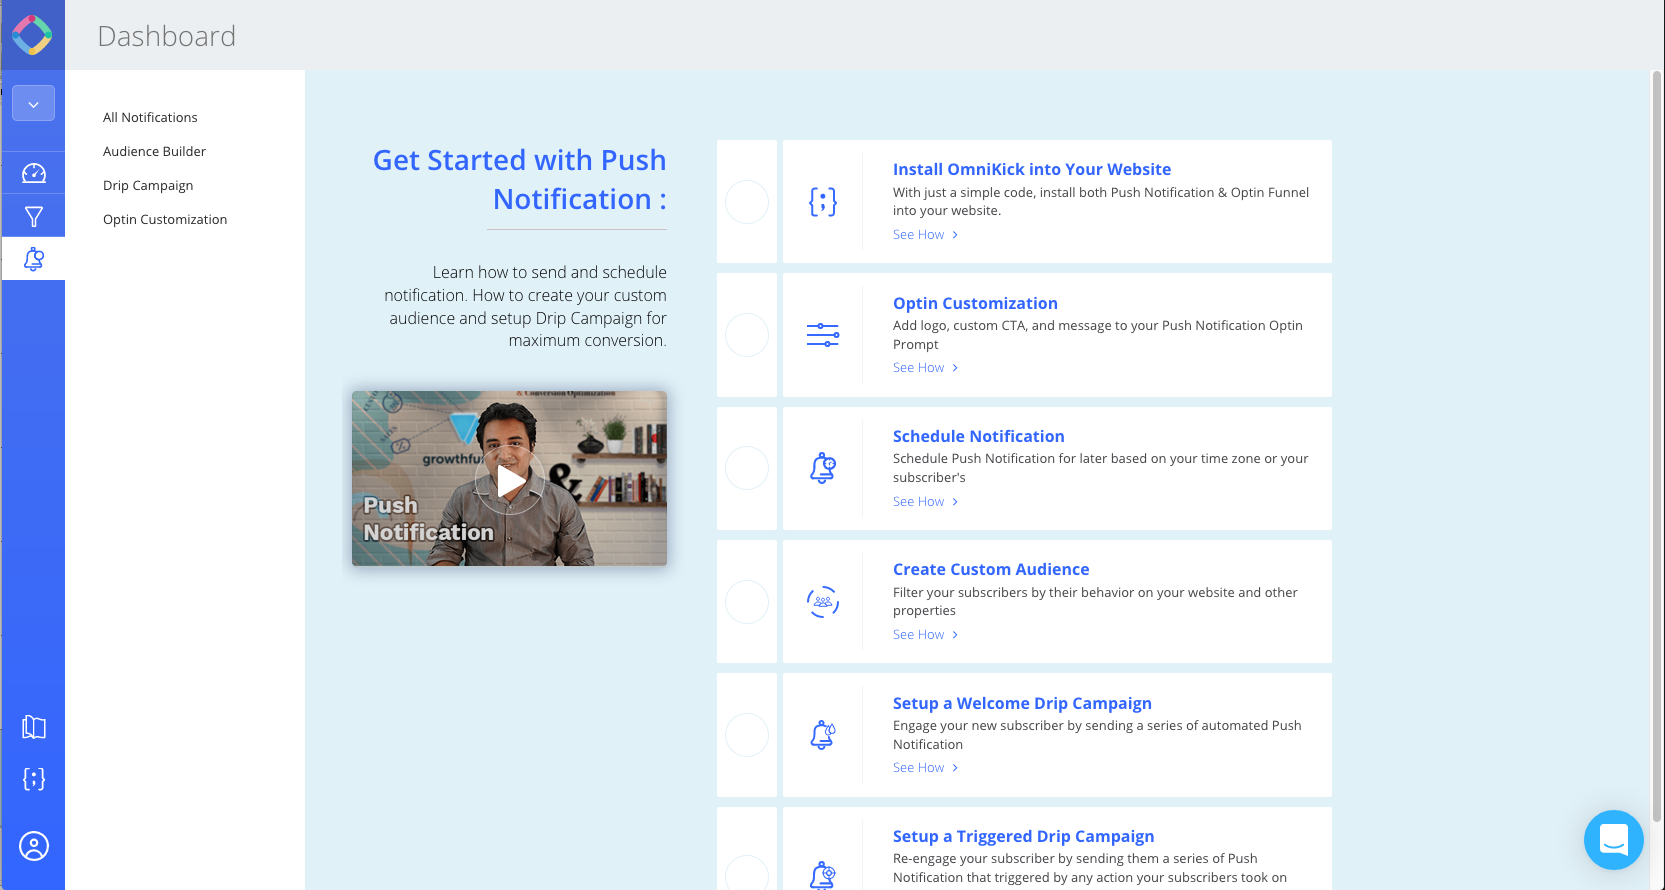
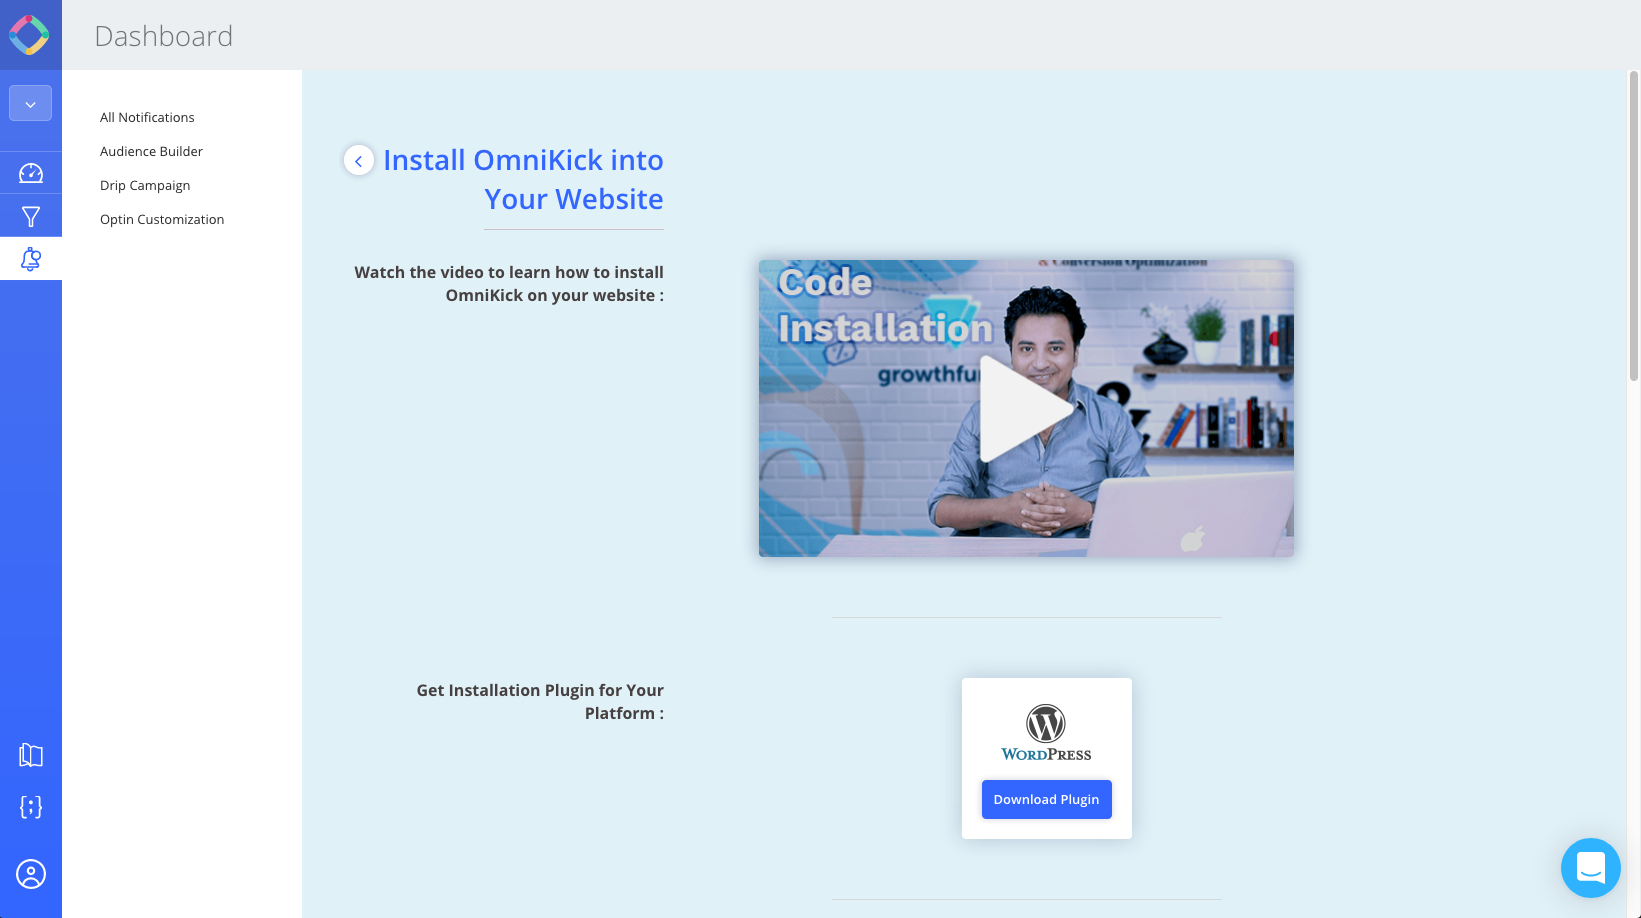
Click on ‘install OmniKick into your website.’
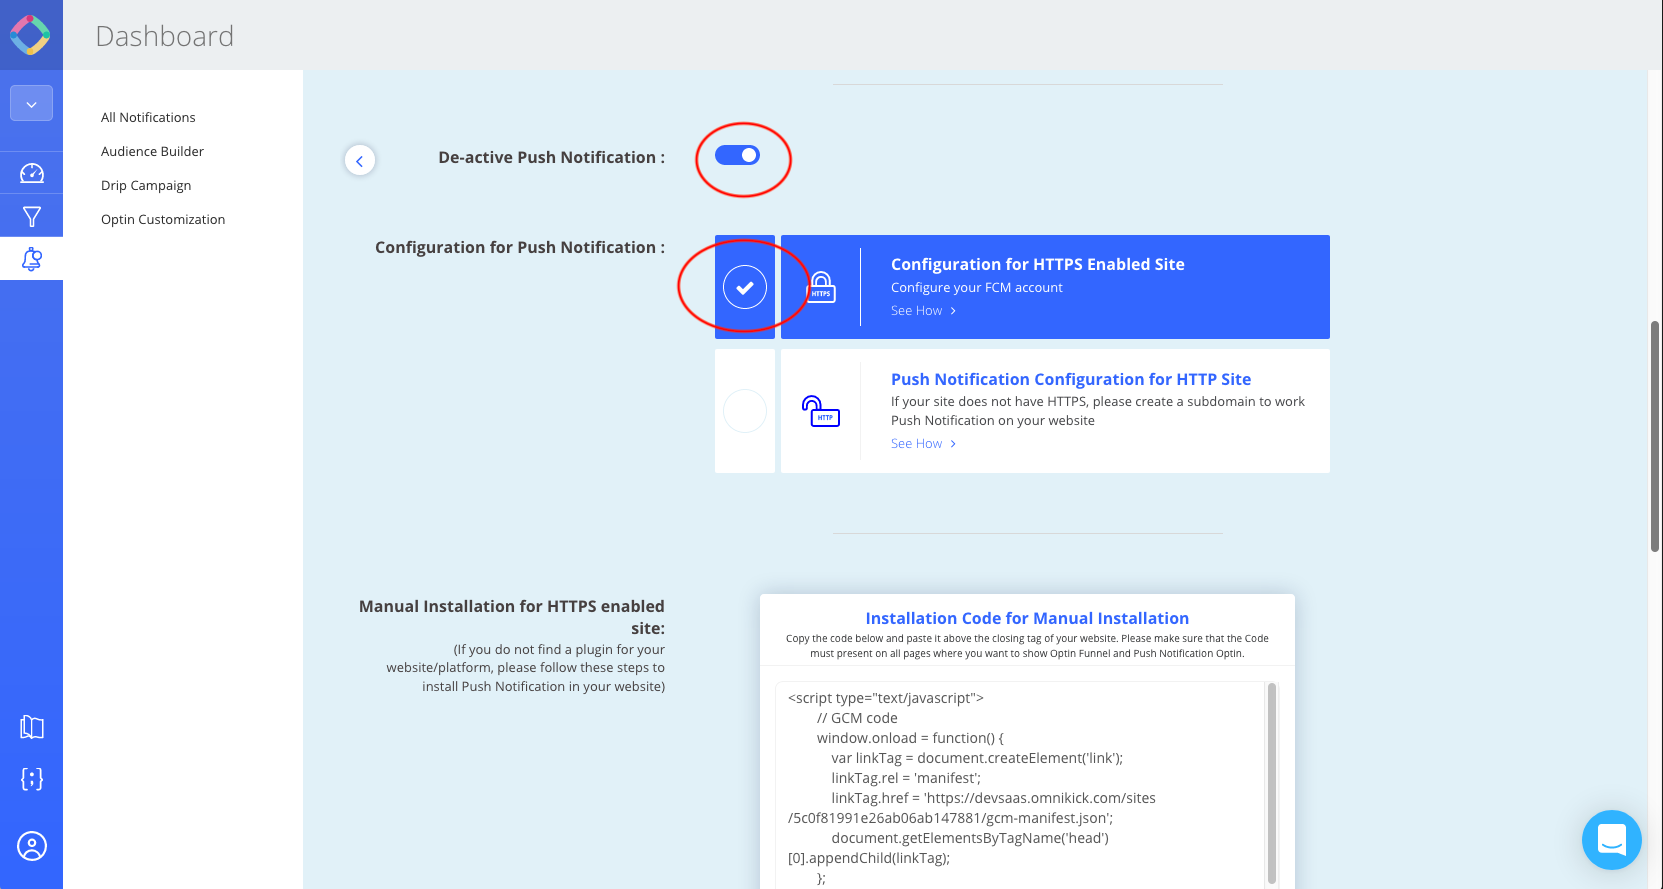
You will see that your push notifications slide is activated.
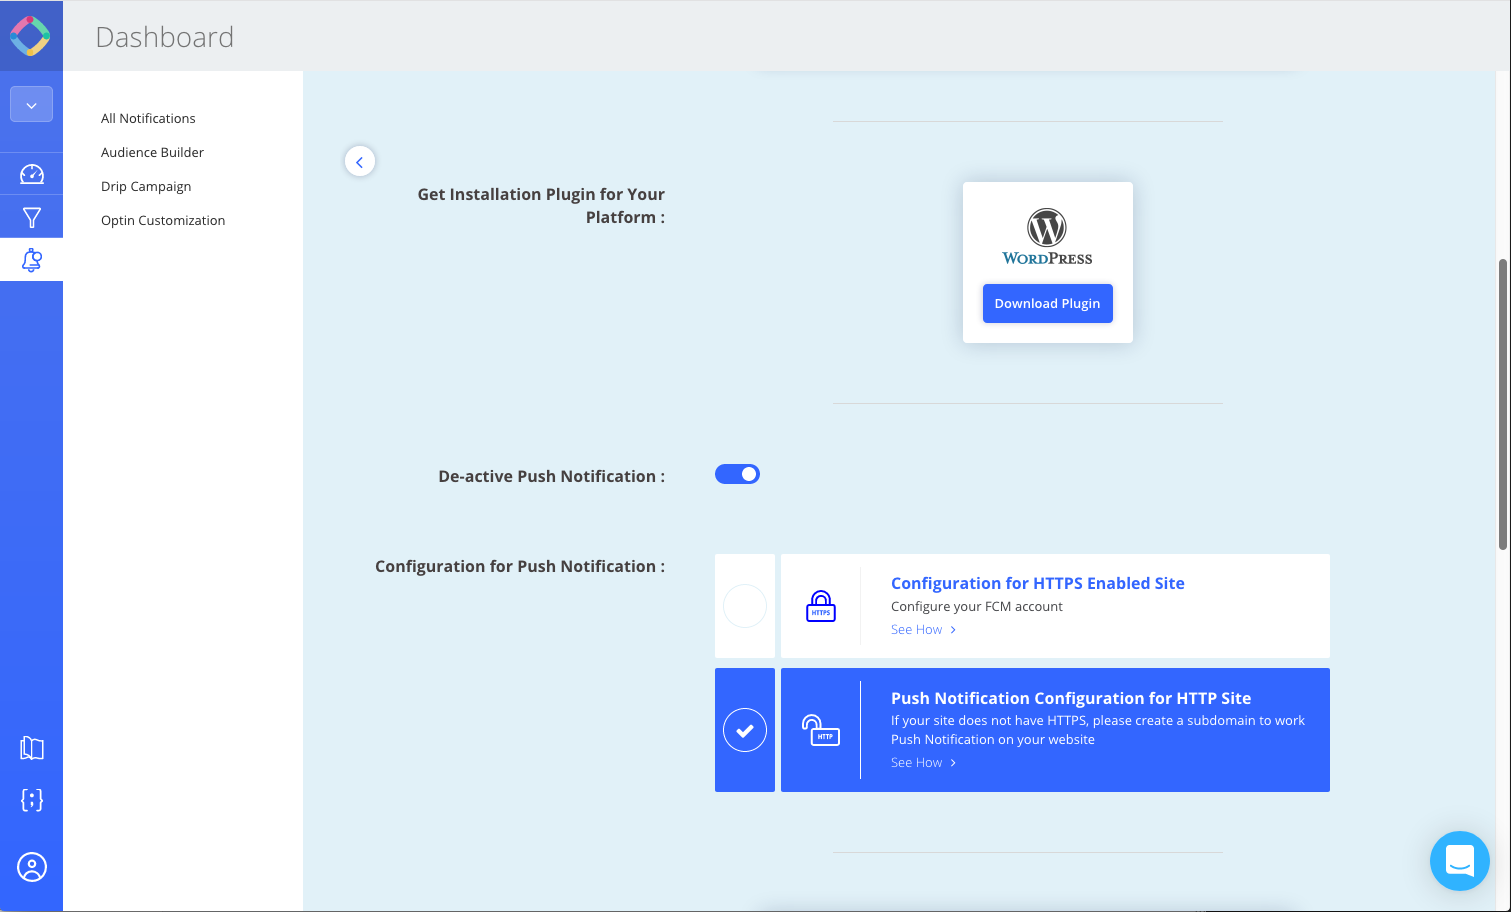
There are three processes you may follow to install push notifications according to your site types.
We are sparing the default way to get you a more pro-level approach.
Either you have a HTTP or HTTPS WordPress site, we will take both process one after another.
Step Two: Set Up Push Notifications WordPress For HTTP
At first, we are going for HTTP site.
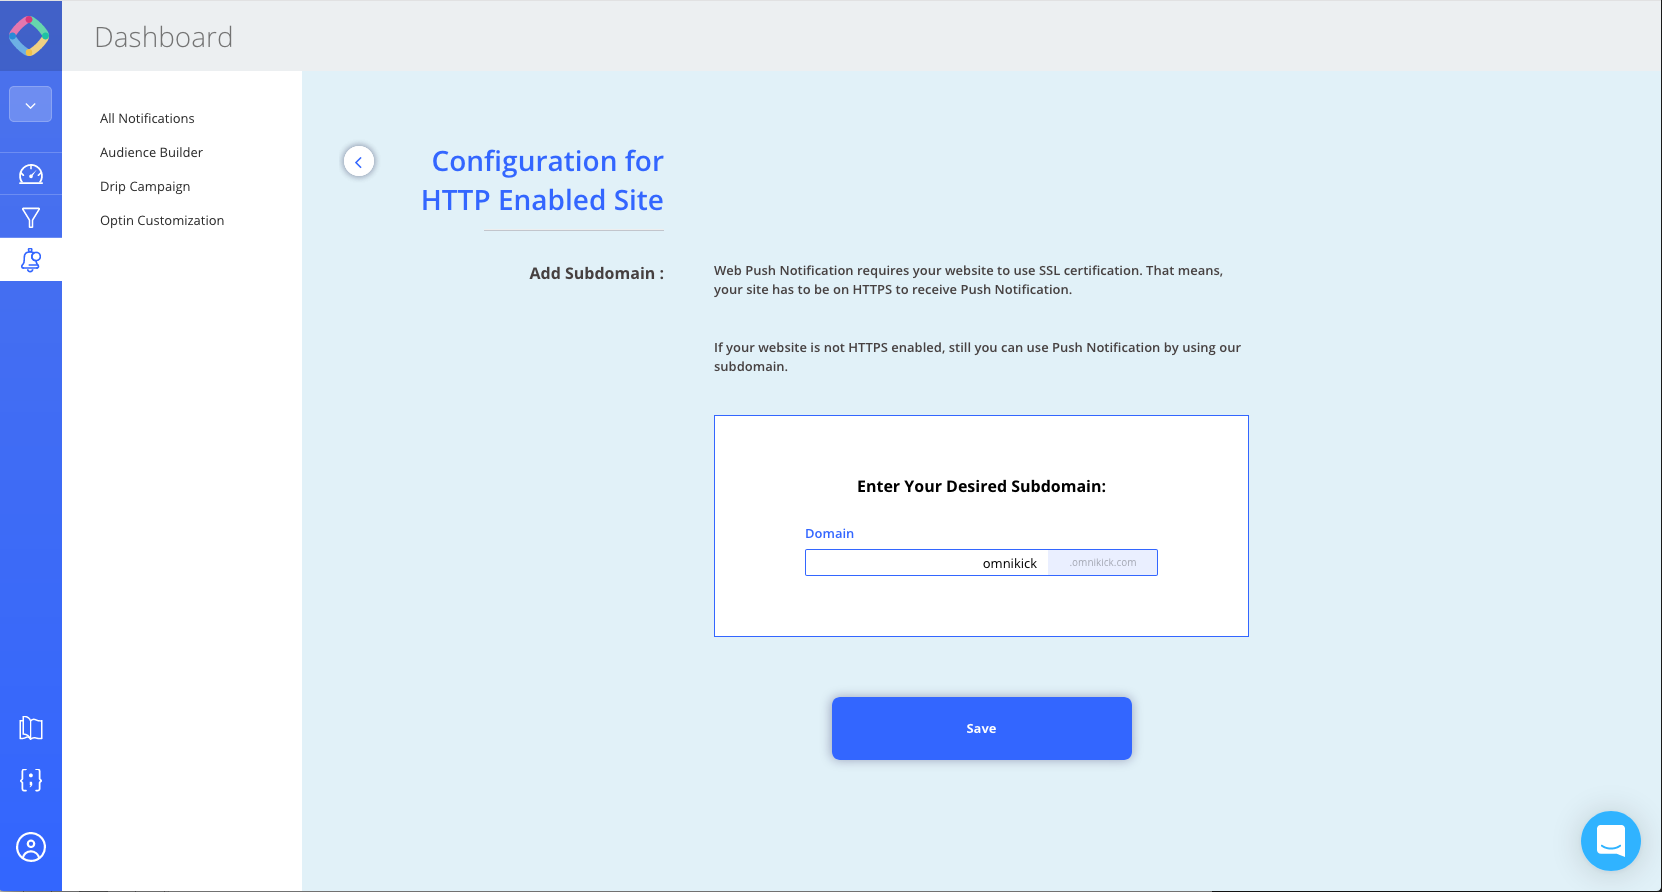
Just select the second option, ‘Push Notification Configuration for HTTP site’ in this step.
Enter your subdomain name, and save it.
Remember, you must put something unique.
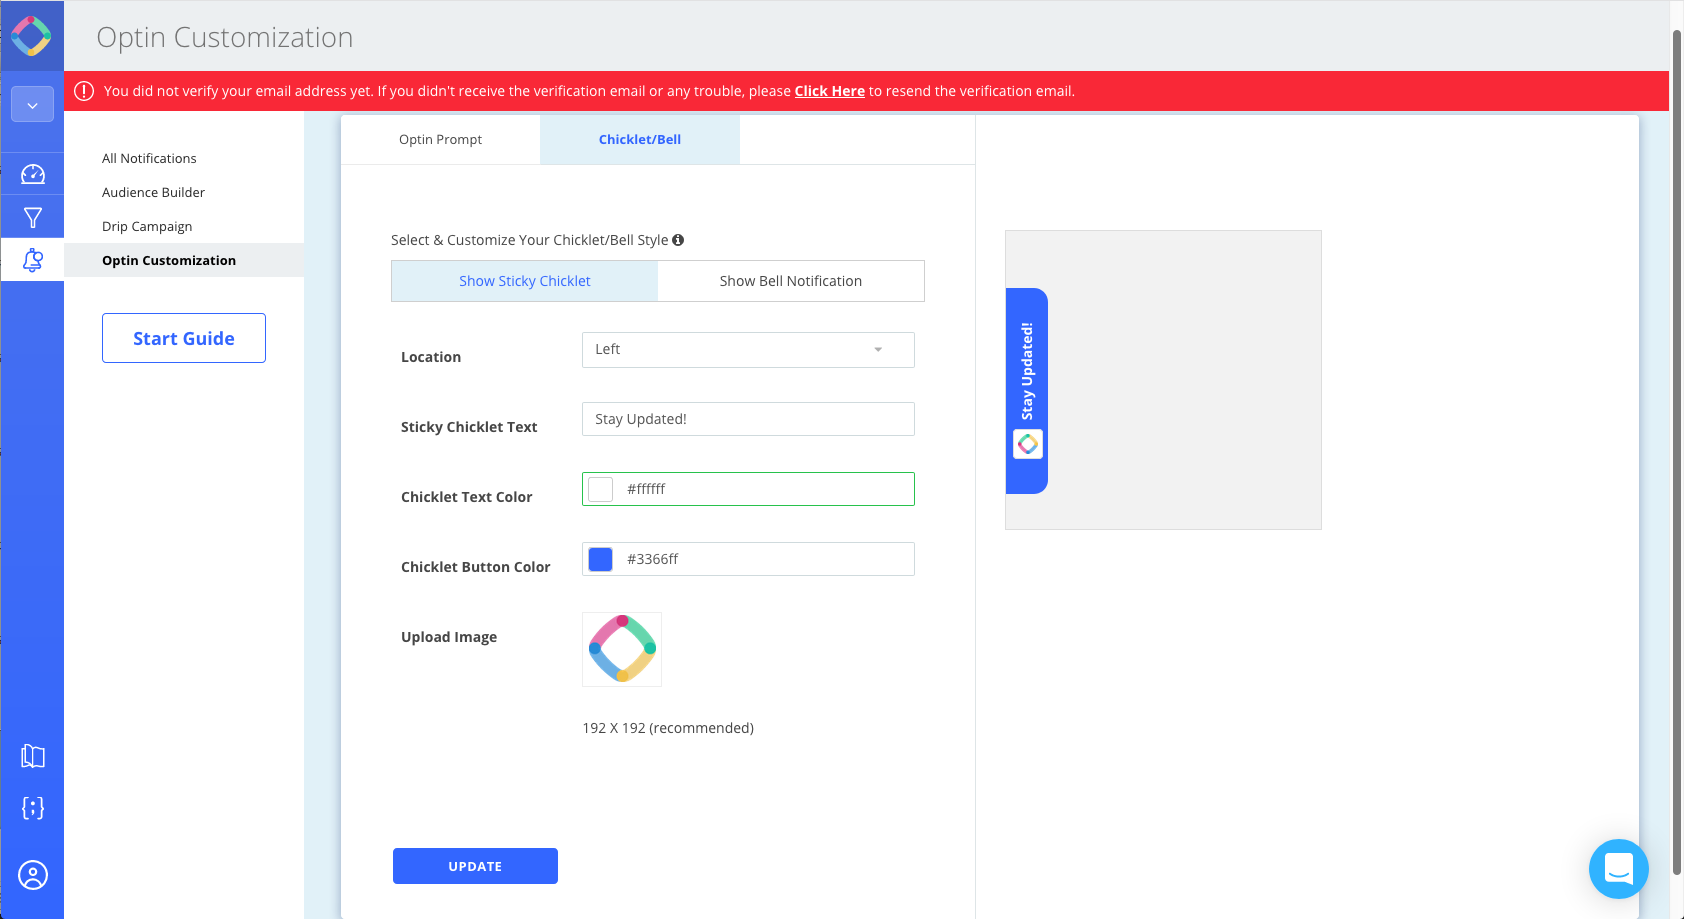
After you save this, the next page is all about your opt-in prompt formation.

Here, you need to create an intriguing opt-in prompt that provokes your user’s interest to get push notifications. After fill up all the boxes, and upload your business logo, click on ‘Save’.
Now, see the image above. Here, you can create your push notifications with an engaging copy. Add images and winning titles. And update the page.
Want to know how to write push notifications copy that converts? Take a look into our post on top hacks for best push notifications copy.
Download the plugin, and save it in your pc.
Now that your push configuration is complete, the rest of the job left for your WordPress dashboard.
Let’s log in to your WordPress site. Go to plugins area.
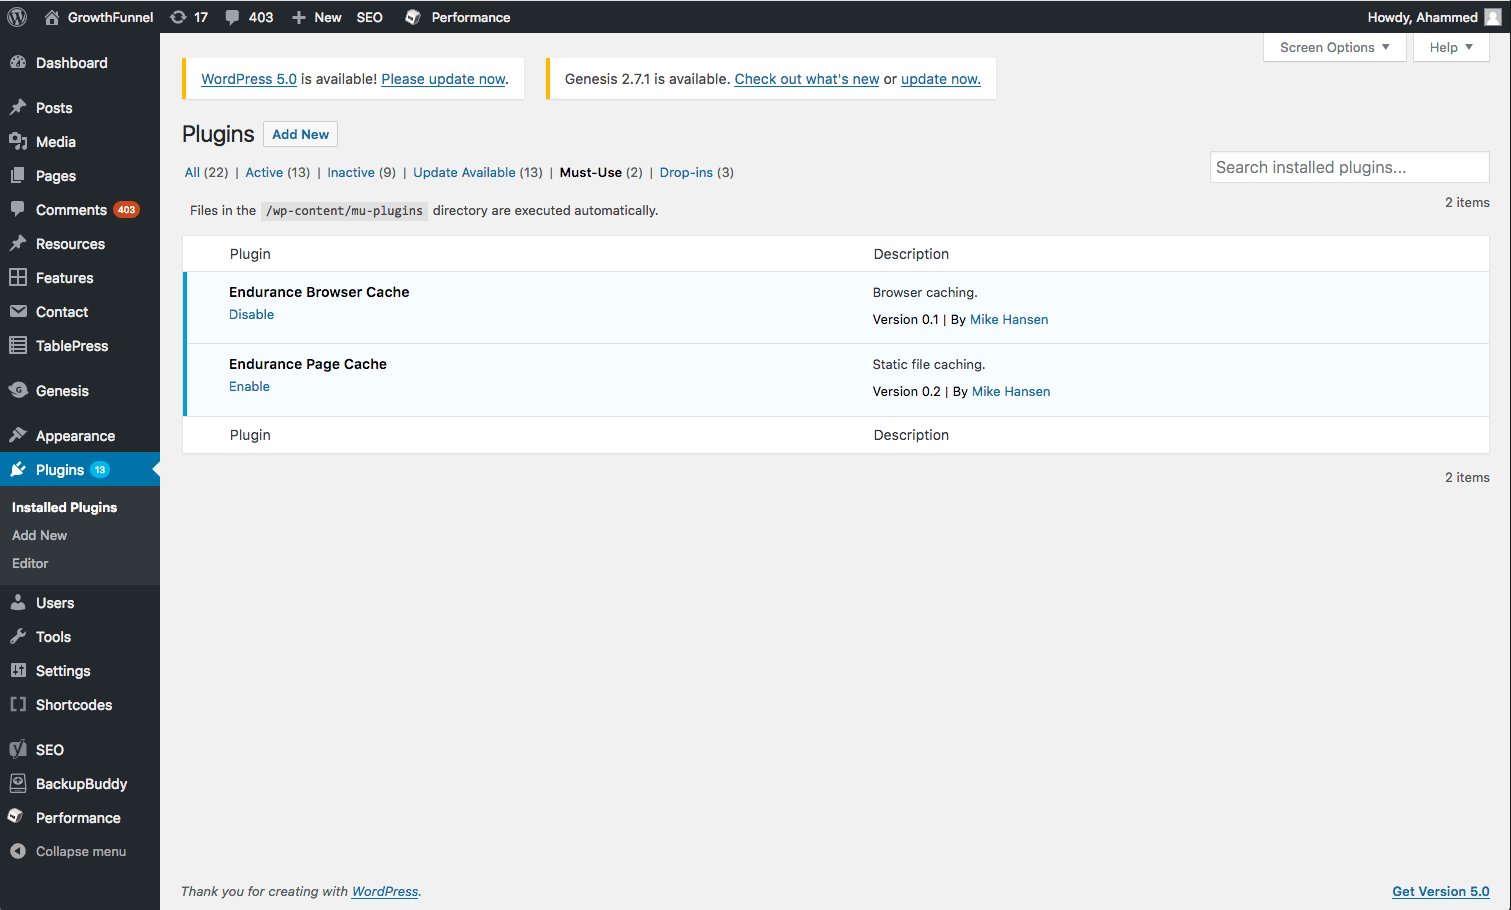
Click on ‘Add New’
You will be taken to a page give below.
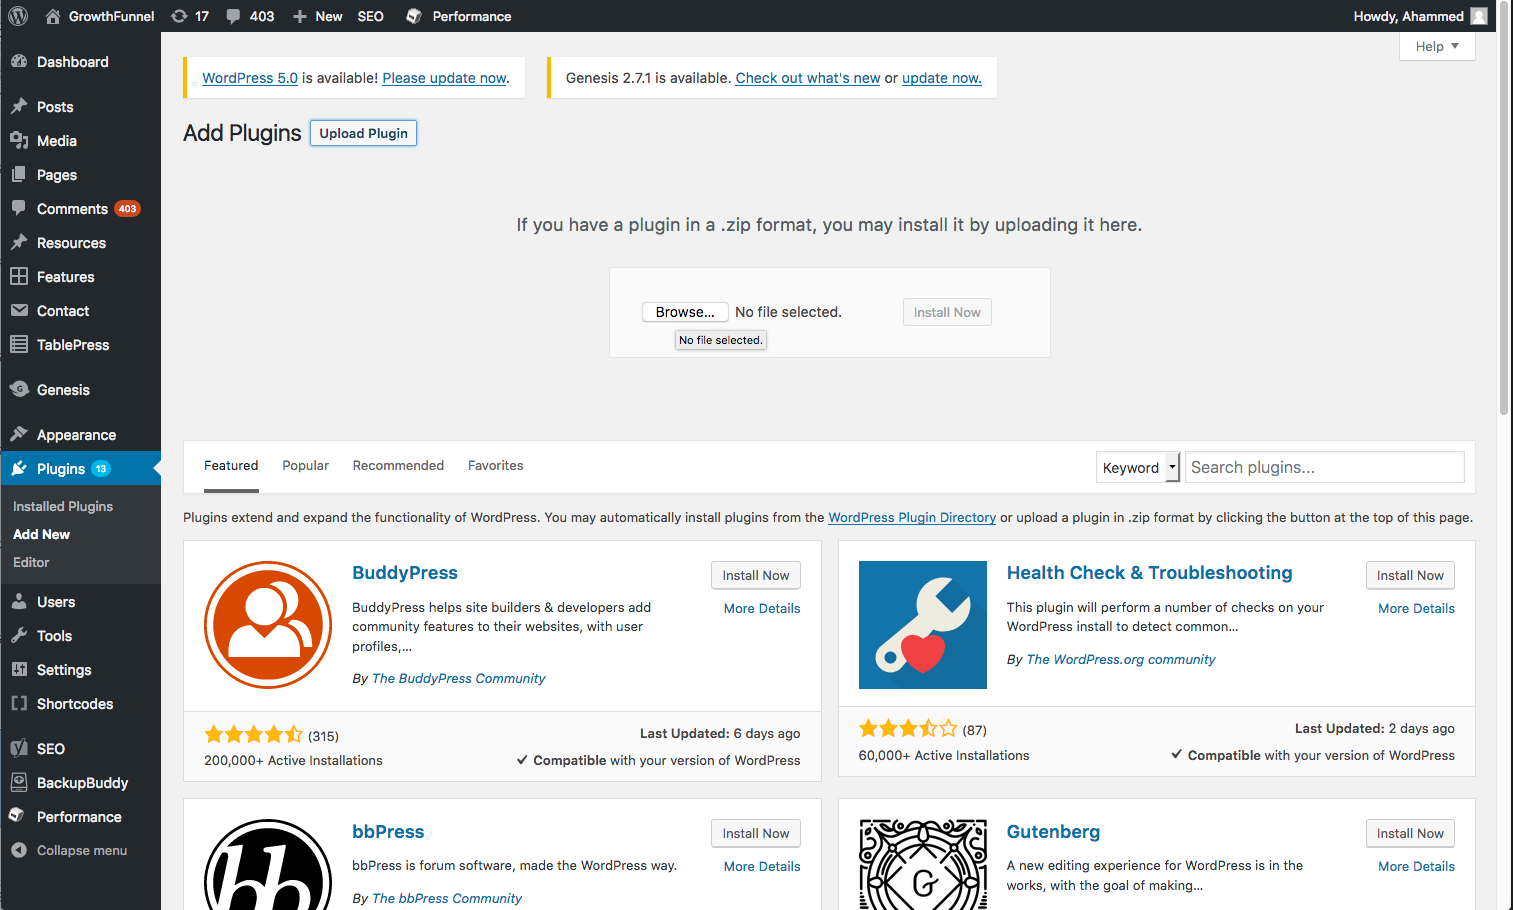
The OmniKick plugin you have downloaded, upload it here from your desktop. And, activate the plugin.
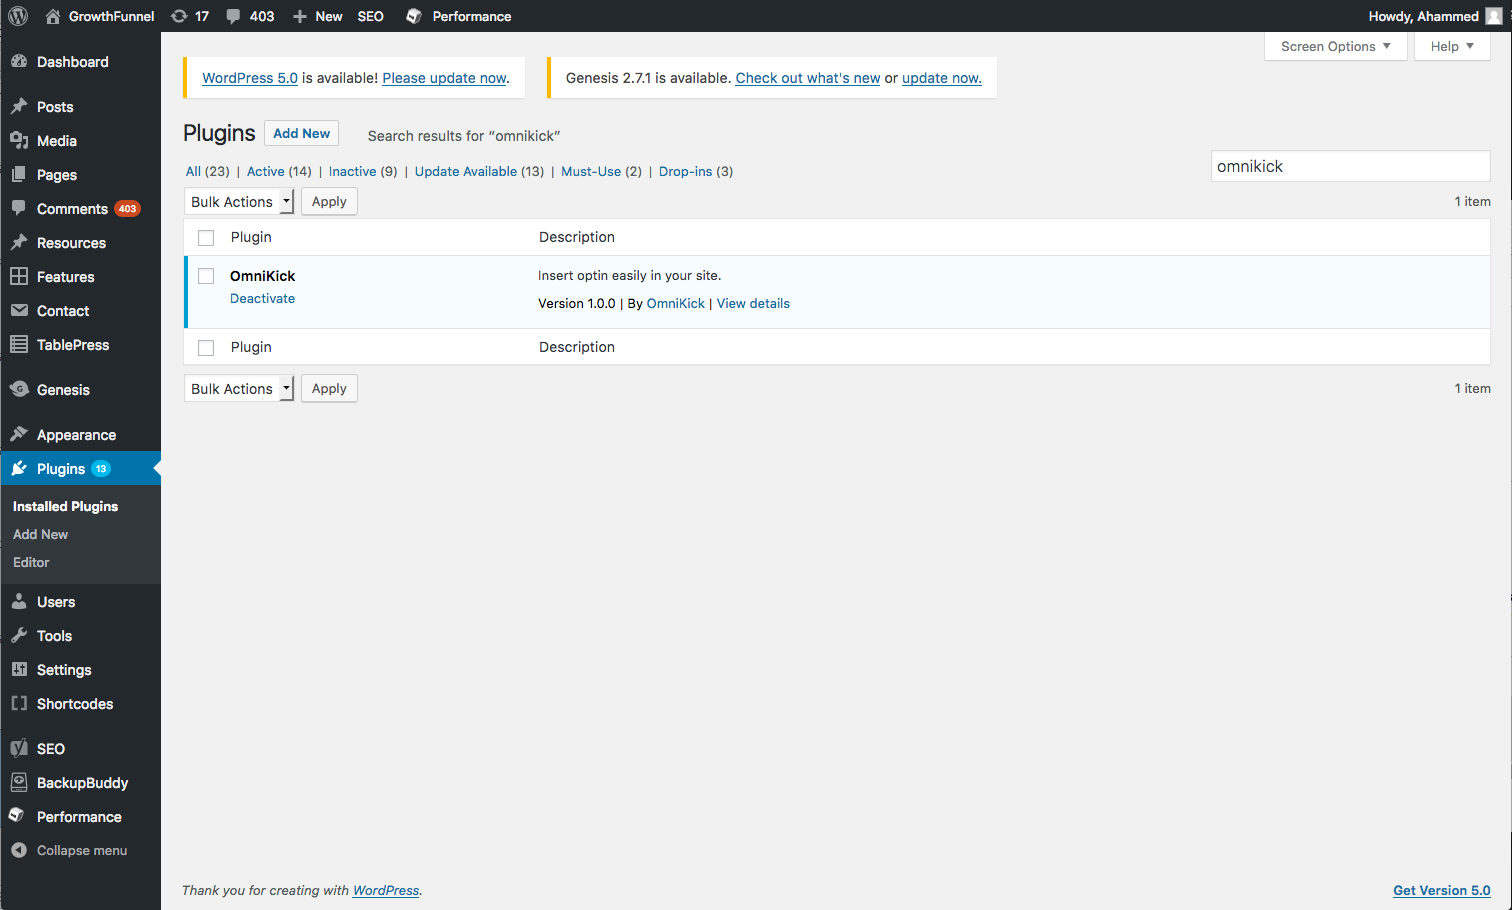
Now, refresh your page. You will see a ‘Push Notification Prompt’ appeared a few seconds later.
That means, your WordPress site is ready to send push notifications.

How to Send Push Notifications WordPress HTTPS site
It’s more easier.
Check out the steps we narrate below.
To configure your HTTPS, click on HTTPS option. A page will be open like this-
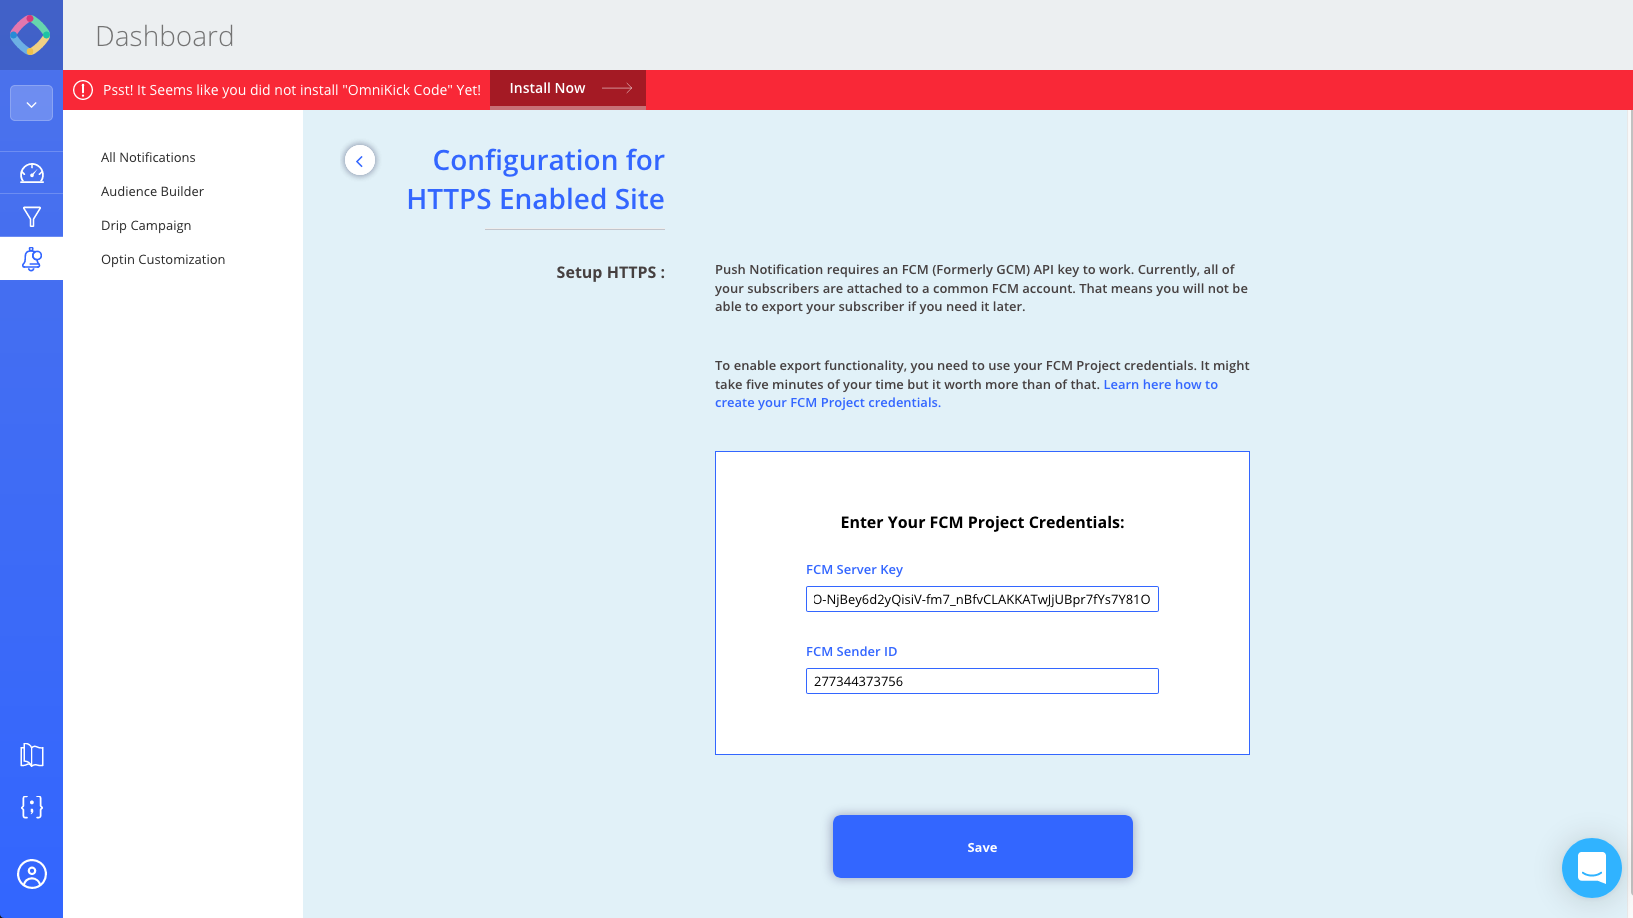
Enter your FCM server key, and FCM Sender ID. Then save the page.
Now, download the OmniKick plugin.
In the next phase, you need to upload this plugin in your dashboard plugin area.

Follow the same process you applied for HTTP site from here.
For an HTTP site, your Push Notifications WordPress prompt will look like the example below.

You can also use the short code, to configure push notifications for HTTPS using OmniKicks ‘Manual Installation Code’.
Wrapping Up
Doesn’t it so easy and quite enjoyable?
That’s all you need to do to add push notifications to your WordPress site.
The process is more or less same with every push notifications platform.
If you have any further questions or having trouble setting up OmniKick to your WordPress, let us know.
We have all ears and concerns.